(08) 8363 6622
Assembly Info
So the big day has arrived and you are ready to install on your new kitchen.
After speaking with many past clients we can offer the following advice.
- Firstly if you have the space ,assemble the new kitchen BEFORE you rip out the old
- It usually takes three the time to more put together the first module than the last.
- Remember they are just a series of boxes and once you have done one they are all basically the same.
- FINALLY- WHEN ALL ELSE FAILS – READ THE INSTRUCTIONS!!!
Assembly Instructions for:
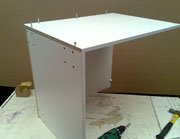
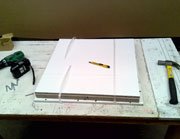
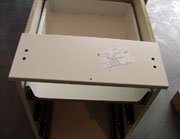
Base Unit
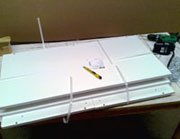 |
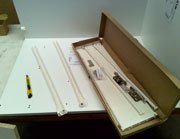
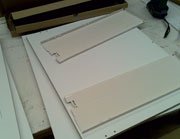
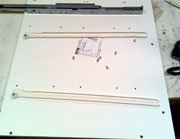
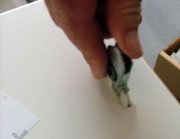
1. Each unit is wrapped individually. |
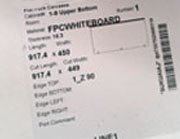 |
2. Each piece is labelled for easy identification. |
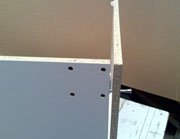 |
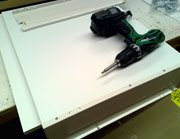
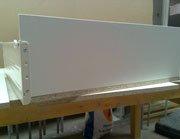
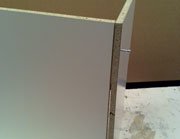
3. Screw base to back tightening with battery drill. |
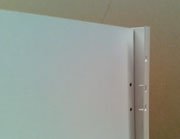
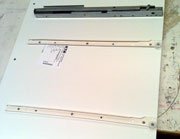
| 4. Screw side on checking label for left or right. | |
 |
5. Make sure edges are flush as you go. |
 |
6. Turn over and repeat to other side. |
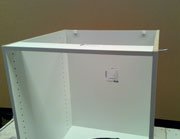 |
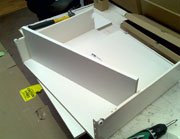
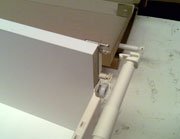
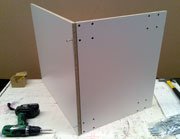
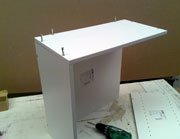
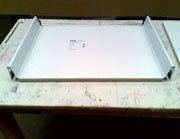
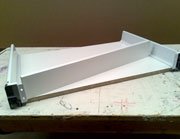
7. Stand unit up and screw front rail. |
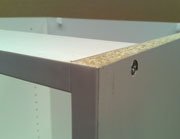 |
8. Remember keep edges flush. |
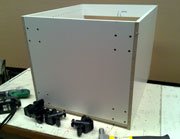 |
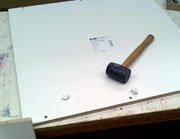
9. Lay down ready for adjustable legs. |
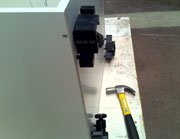 |
10. Knock legs on gently with a hammer. |
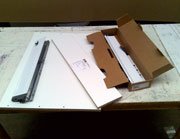
Drawer
 |
Box with drawer components. |
 |
1. Take a drawer bottom and metal sides. |
 |
2. Align side lugs with holes on bottom and push on. |
 |
3. Screw sides in place. |
 |
4. Turn over and slide back in place. |
 |
5. Screw back in place. |
 |
6. Screw bottom in place. |
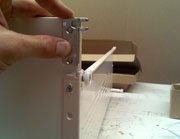 |
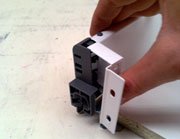
7. Attach bracket for side rail. |
 |
8. Clip rail to bracket. |
Drawer Unit
 |
1. Each drawer unit is wrapped individually. |
 |
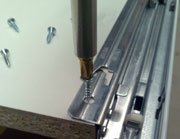
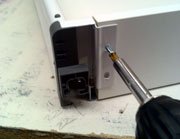
2. Take sides and align runners with pilot holes. |
 |
3. Screw runners to sides with rollers to the front. |
 |
4. Knock in cabinet top connectors. |
 |
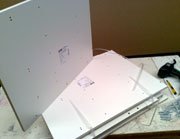
5. Screw base and back together. |
 |
6. Fit side with screws and tighten keeping flush. |
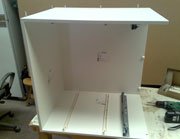 |
7. Turn over and repeat to other side. |
 |
8. Stand unit up and screw front rail. |
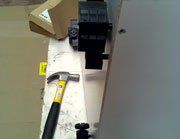 |
9. Knock on legs gently with hammer. |
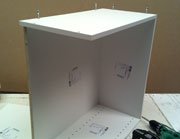
Overhead
 |
1. Each overhead is wrapped individually. |
 |
2. Fit bottom to back with screws and tighten. |
 |
3. Fit side with screws and tighten. |
 |
4. Turn over and repeat to other side. |
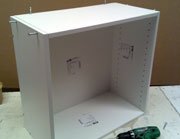 |
5. Finish by fitting top. |
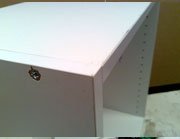 |
6. Tighten screws keeping edges flush. |
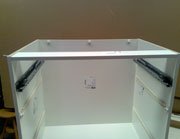
Soft Close Drawers
 |
1. Components for soft close drawers. |
 |
2. Align runners with front edge. |
 |
3. Tighten screws in place. |
 |
4. Sit bottom flat on bench. |
 |
5. Clip in back fixing brackets. Marked L & R. |
 |
6. Slide in back rail. |
 |
7. Screw back rail in place. |
 |
8. Select drawer front. |
| 9. Push in drawer front brackets. | |
 |
10. Lift with side movement to lock bracket in place. |